Sunday 29 January 2012

Working for Others

Hi Guy's

I had a productive weekend. Worked on quite a few projects I have sitting here for others.

Here is some shots.
RCSF69-E

This is an Auscision RCSF that I weathered up. I worked on 3 of these. There was some Air Brush Work at the start but most of the work centered around hand painting the timbers in the Cradles. I used a mixture of Floquil Rail Brown and Grimy Black. It looked fine under my work lights but after I took these photo's I am not that sure. They look a little greenish. I haven't painted the boards on the others yet so I may look at some different colours for these.


Straight out of the Box

Hand Brake End


All 3 together

Most of my other work was on over the weekend was Weathering a couple of Trainorama 47 class loco's. I used my usual weathering technics for these so I won't go to detail with what I did to get these results. They come up looking nice. Too bad they are not mine.


4718 


4714


Happy Modelling

Cheers Justin Moy

Sunday 22 January 2012

44217

Hi Guy's

The Weather in Old Bar was real bad yesterday so I spent most of my spare time during the day working on 44217. I finished detailing the Chassis and Pilots plus wiring it up. This brings this loco up the same standard as my other 2 jumbo's that I have running 44233 & 44239.

On 33 and 39 I had completely repainted the Candy Red. I mixed a little Floquil Grime into the Railey Paints Candy to fade it a little. I then applied decals and finished the model's off. 44217 was a little different as I wanted to retain the numbers from the original Austrain's 44216 paint job. The problem with these numbers is that I have not found any decals that match the Font used. The only decals I have found use the font such as those built and supplied in Candy colours such as the 81 class and 86 class. Over time the fonts varied and I guess depending on which paint shop was used. As I wanted to change this Loco to 44217 with no decals available, I removed the 6 and masked up and painted a 7 on with white paint. I masked up the L7 as with the numbers and applied the Red as per the other units.

As I add to my roster of loco's, I go to a lot trouble to match up loco's to the decal fonts that I have. I don't like to compromise if I have to. 44239 is a compromise as it uses the same font as 44217 on the sides but I finished up rubbing most of the numbers off as per the original so I let it go. One day I will get back to 44239 and fix the numbers up. I have 2 other Jumbo's that are being worked on. They will be 44228 and 44237. These are going to be super detailed and I hope to upgrade 17, 33 and 39 to this standard some day.

   Anyway here is the Loco


Here is a couple of shots of 44233 and 44239 when I first got them running back in 2007


44239 on a short NL36 Grafton Express as it approaches Wingham on Sunday 15/01/91 


44233 on 6372 blast through Wingham on Tuesday 31/8/93

Hopefully I will have some shots of 44217 in Action soon

Cheers Justin Moy

Monday 16 January 2012

NVMF

Hi Guy's

Haven't got much to report ATM. Having the Kid's on School Holidays slows the Modelling down a little. I have been preparing some stuff for the Paint Shops.

One I have been working on is a Trainorama NVMF Brakevan. I have 2 of them here and although they are not in my era, I don't mind a Brakevan or 5. I am going to DCC a loco, most likely a 49 class or a 44 class so I can go in and run on the Clubs Large DCC Layout. For operation purposes I will run an early 80's era so I can run brakevans.

This NVMF featured in the following photographs has had a little bit of work in readiness for weathering. I have replaced 2 windows that for some reason Trainorama provided with frosting. I haven't seen any photo's of a Van like this so the windows had to go. I am not 100% happy with the job I did on theses but these photo's show the model much larger than it is. I have painted the buff line at the roof line as most photo's I have show this painted. I have also added a number of patches on the roof  as seen on many vans near the end of their working lives. Normally I would replace the Bogies with ones from the AR Kits range but I don't mind the extra detail on these ones and they look real good with P88 SEM wheels added.

Here is some shots

Here is an overall shot 
Some of the patches can be seen here
A close up of the windows and also the difference the P88 Wheels have made.

The other van in this shot will have a different style of marker lights fitted to add a bit of Variety.

A couple of other models about to be weathered up. 

 This Trainorama 4914 will most likely have DCC with sound fitted.

I have a 4 pack of these Auscision RCSF's that are just about done. 

More Photo's as progress is made

Cheers Justin Moy 

Friday 6 January 2012

An Update

Hi Guy's

I hope everyone has had a good Christmas and New Year. Mine has been pretty hectic with family commitments. I haven't had much time to sit at the work bench at all. Anyway here is a bit of an update of what I have been up to.

Firstly I have had this VLEX sitting for a while that I did about 4 years ago. It's history is a bit of a kit bash. Having a few of the Trainorama VLCX models and one BGB VLEX running with them, I was never happy with the different roof profiles. When ever I went about photographing the Vans mixed up the difference was just too much for me. So the Van in the below photograph is a mixture of  2 Trainorama VLCX vans and the sides from a BGB VLEX kit. I used the ends of the VLCX and the roofs of 2 Vans put around the sides of the VLEX kit. I used the Bolsters of the VLCX but scratch built a fish belly between them. The end result was a VLEX Van that matched it nicely with all my VLCX Vans and one VBBX.

Anyway soon we will have the release of the On Track Models VLEX Van. From what I have seen of the pre-productions samples these will be a fine model. I have no doubt that I will have some sitting on my bench soon whether they be mine or someone elses that I am to weather. Having this kit bash sitting here I thought to have a bit of a go at really heavily weathering the roof. I had given it a light going over before when I first built the model but what I have done here I think has come up OK. It is all brush work with Floquil colours. I used Grimy Black, Rail Brown and Box Car Red for this effect. Some was applied straight on and some as washes.

Anyway this is the finished example.

I guess my new issue will be the new VLEX from OTM will have a different roof profile again. What to Do? I am sure that the profile on the OTM model will be spot on so I will not be able to run them with my VLCX Vans unless I do some major surgery on them. I think the solution will be to use the parts I have to make 2 more vans like the one above and mix them with the Trainorama Vans and just run the new OTM Vans with my other vans such as the Auscision NLKY's where the high detail will match in much better anyway.


I have a few other bits and pieces sitting on the bench.

This model below when finished will be a VKEX. In a previous Blog I mentioned that I had changed out the underfloor on a rib sided VOBX with that of a  flated sided VOBX to represent a flat sided one that had been rebuilt into a rib sided one. If that makes sense. The parts not used will finish up being a VKEX that was built on the heavier under frame. I now have the model to the stage I can start the extensive styrene work as seen in this photo


Another project I have set myself at the moment is to update this AKHX model that I built around 7 years ago. After 7 years I had never got around to putting decals on it. I think after 7 years I have lifted my modelling standards a little so I am going to give this one a make over. I am going to introduce some interia rib detail and add grab irons and new hand brake detail. Finally somn decals and it may get a bit under the weather as well.


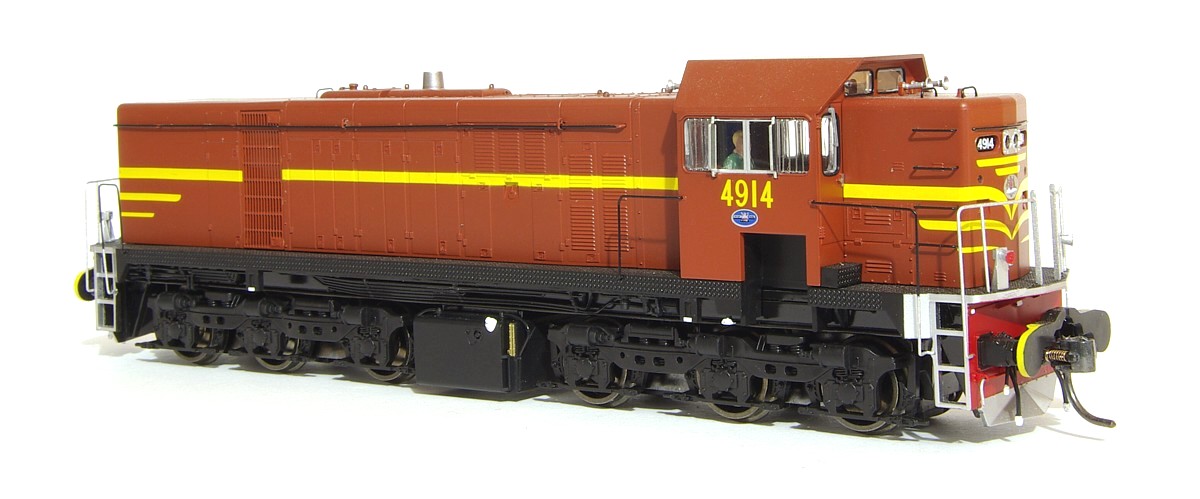
Finally some shots of a few loco's that are in various stages and pieces. Hopefully will be added to the stable soon.

4485 Trainorama


44228 Austrains

44237 Austrains

Happy Modelling

Cheers Justin Moy